
Why We Walk You Through the Visit Itself
A lot of homeowners in Thousand Oaks call to schedule a Level 2 chimney inspection because a lender, an agent, or an insurance company told them they needed one, and they book the appointment without really knowing what happens once the technician shows up. This guide skips the sales pitch and walks through the visit itself: what gets checked, in what order, what our CSIA-certified technicians are actually looking at during the camera scan, and what ends up in the written report you receive afterward.
Understanding the process matters because a Level 2 inspection produces a document you might hand to a buyer, a lender, or your own insurance carrier. Knowing how that document gets built, component by component, makes it easier to trust what it says.
Before the Appointment Starts
We ask homeowners across Thousand Oaks, Camarillo, Oxnard, Ventura, and Santa Paula to do a few simple things ahead of time: clear furniture or decor away from the fireplace opening, confirm we can get into the attic or crawl space if the chimney passes through one, and move any vehicles that might block roof access. None of that is required, but it shortens the visit and means the technician spends the appointment inspecting instead of clearing a path to the chimney.
If you already have documentation from a previous sweep, repair, or inspection, having it out is useful too. It gives the technician a baseline to compare against, rather than starting from zero on a chimney that has actually been maintained for years.
Starting on the Exterior
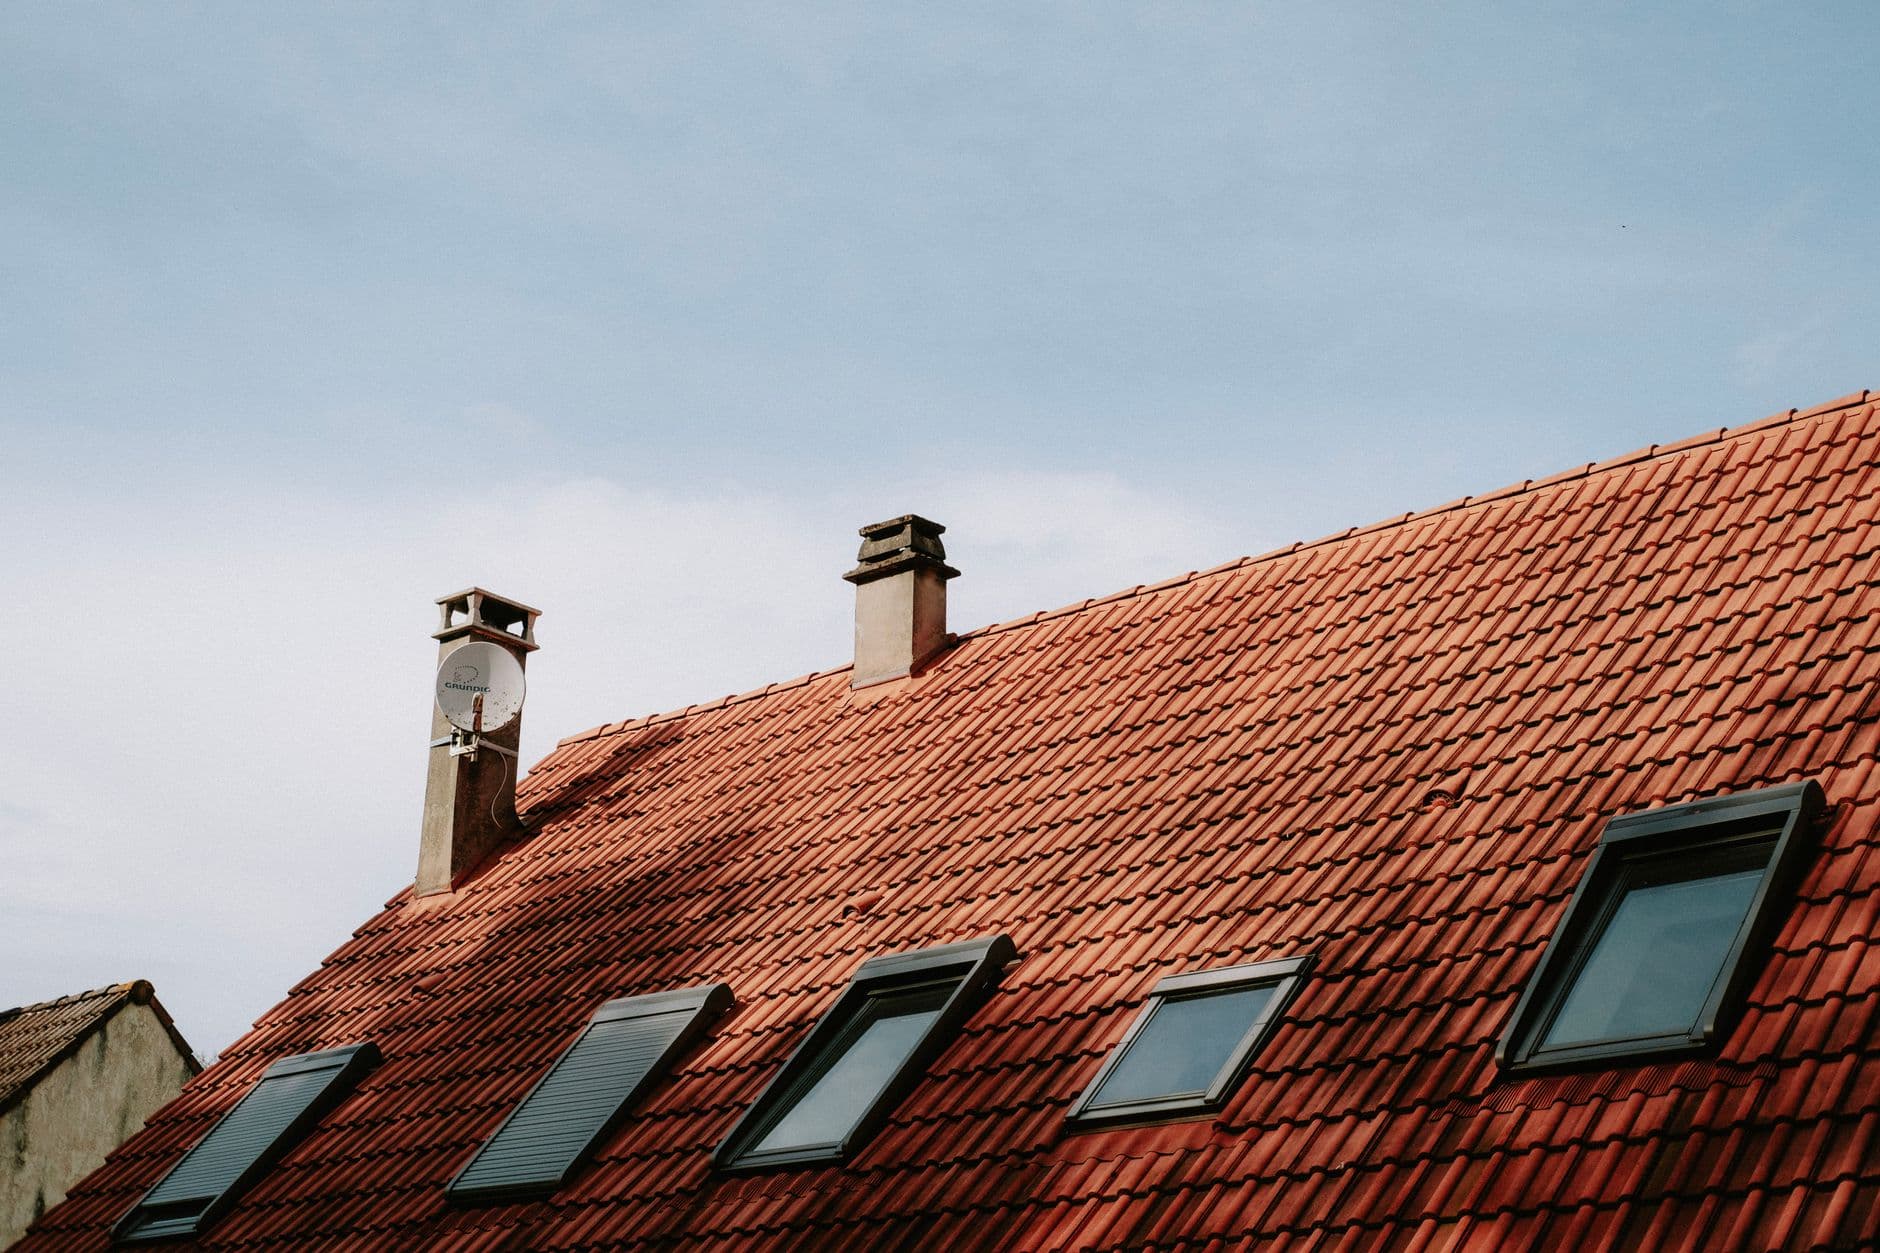
Most visits start outside, at the roofline, working from the top down. The technician looks at the crown first, checking for cracking, separation from the flue tile, and whether the crown still sheds water the way it was built to. From there the inspection moves to the flashing where the chimney meets the roofline, since that seam is one of the more common places water finds its way in.
The cap gets checked next: is it present, is it seated correctly, is the mesh screen intact or corroded. Then the masonry itself, brick and mortar joints, looking for spalling, cracking, and the kind of erosion that shows up differently depending on where in the county the home sits. Each of these gets photographed before the technician moves to the next component, so the exterior portion of the report is built piece by piece rather than summarized after the fact from memory.
Moving to the Interior
Inside, the order flips: firebox first, then damper, then smoke chamber. The firebox gets checked for cracked or displaced refractory panels and for dimensions that match what the appliance or fuel type actually calls for. The damper gets opened and closed to check for smooth operation, corrosion, and a seal that actually closes when it is supposed to.
The smoke chamber, the transitional area between the firebox and the flue, gets checked for parging condition and any visible cracking. This is a part of the system most homeowners never see, since it sits above the damper and out of view from the room, which is exactly why documenting it with photos matters.
The Camera Scan
This is the part that separates a Level 2 inspection from a basic visual check. The technician feeds a camera down the length of the flue and watches the feed as the scan runs, looking for cracked or separated flue tile joints, gaps in the liner, creosote accumulation, and anything blocking the passage that would not show up from a flashlight check at the firebox opening.
The footage gets recorded as the scan happens, not reconstructed afterward, so what ends up attached to your report is the same view the technician was working from during the visit. If something needs a second look, the technician can pause, back the camera up, and get a clearer angle before moving on, rather than noting a vague concern and leaving it there.
Checking Attic, Crawl Space, or Basement Access
Wherever the chimney passes through an unfinished space, that section gets checked too: the chase in the attic, clearances from framing and insulation, and signs of past moisture intrusion. This step looks different depending on the home. A newer planned-community house in Thousand Oaks with a factory-built chase behaves differently than an older masonry chimney running through a Ventura bungalow or a Santa Paula craftsman home, so the technician adjusts what to look for based on the construction actually in front of them rather than running through one generic checklist.
How Findings Turn Into a Written Record
Every component gets a note on-site, tied to a photo or a piece of video, rather than a general impression written up later at a desk. If the crown has a hairline crack, that gets flagged with an image of the specific crack, not a checkbox that just says the crown is in fair condition. If the camera scan turns up a joint that has separated, the point in the footage lines up with that specific finding in the report.
That level of detail is what makes the report useful to a third party who was not there for the visit. An agent, a lender, or an adjuster can look at the documentation and see exactly what was found and where, instead of taking a summary conclusion on faith.
What You Get After the Visit
Once the appointment wraps, the findings get compiled into a written report covering the condition of each component, the supporting photos and video, any deficiencies, and a recommendation for anything that needs follow-up work. You get that report the same day, not as a follow-up call a week later. If repairs come up, we walk through what was found and what the fix would involve before anything gets scheduled.
Why the Findings Vary Across Ventura County
The visit structure stays the same everywhere we work, but what turns up depends heavily on where the home is. In Thousand Oaks and other inland communities, sun exposure and dry seasonal heat cycle mortar joints in a particular way over the years. Along the coast in Oxnard and Ventura, salt-laden air and higher humidity show up first as corrosion on metal components like dampers and cap hardware. Camarillo sits in between, with shifting coastal wind patterns that tend to loosen cap mounting hardware before anything else fails. In Santa Paula, older homes with narrower, taller flues built for a different era of fireplace use often show wear patterns that a newer, wider flue would not.
None of that changes how the inspection gets done, but it does mean two Level 2 inspections in different parts of the county can turn up very different findings, even on homes of a similar age.
Scheduling Your Inspection
If you're buying or selling in Thousand Oaks, Camarillo, Oxnard, Ventura, or Santa Paula, or you simply want a documented look at your chimney's current condition, contact Redwood Chimney Care at (805) 225-7801. Our CSIA-certified technicians perform Level 2 inspections throughout Ventura County, and every visit produces the kind of documented, component-by-component record that holds up in front of an agent, a lender, or your own peace of mind.
Need Professional Chimney Service?
Our CSIA-certified technicians are ready to help with all your chimney and fireplace needs. Contact Redwood Chimney Care today for expert service throughout the Ventura County service area.


